


Watch the Walkthrough
New to KeyBar? This quick video shows you exactly how to assemble your key organizer step by step.
What's in the Tin
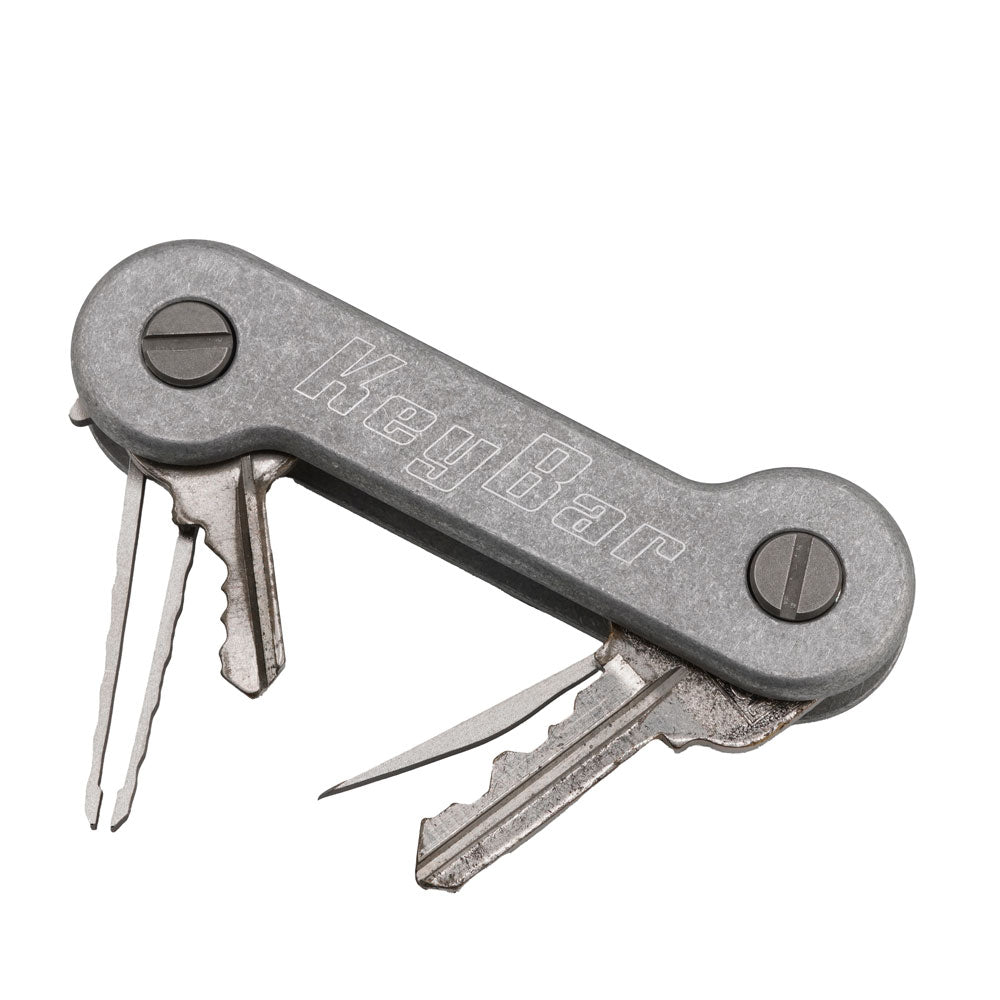
KeyBar Body
Your KeyBar & titanium pocket clip or KeyBar JR
Screws
Three sizes included: 1/2", 3/4", and 7/8" to fit your key and tool stack
Washers & O-Rings
~18 washers for spacing & 2 rubber 0-rings for tension adjustment
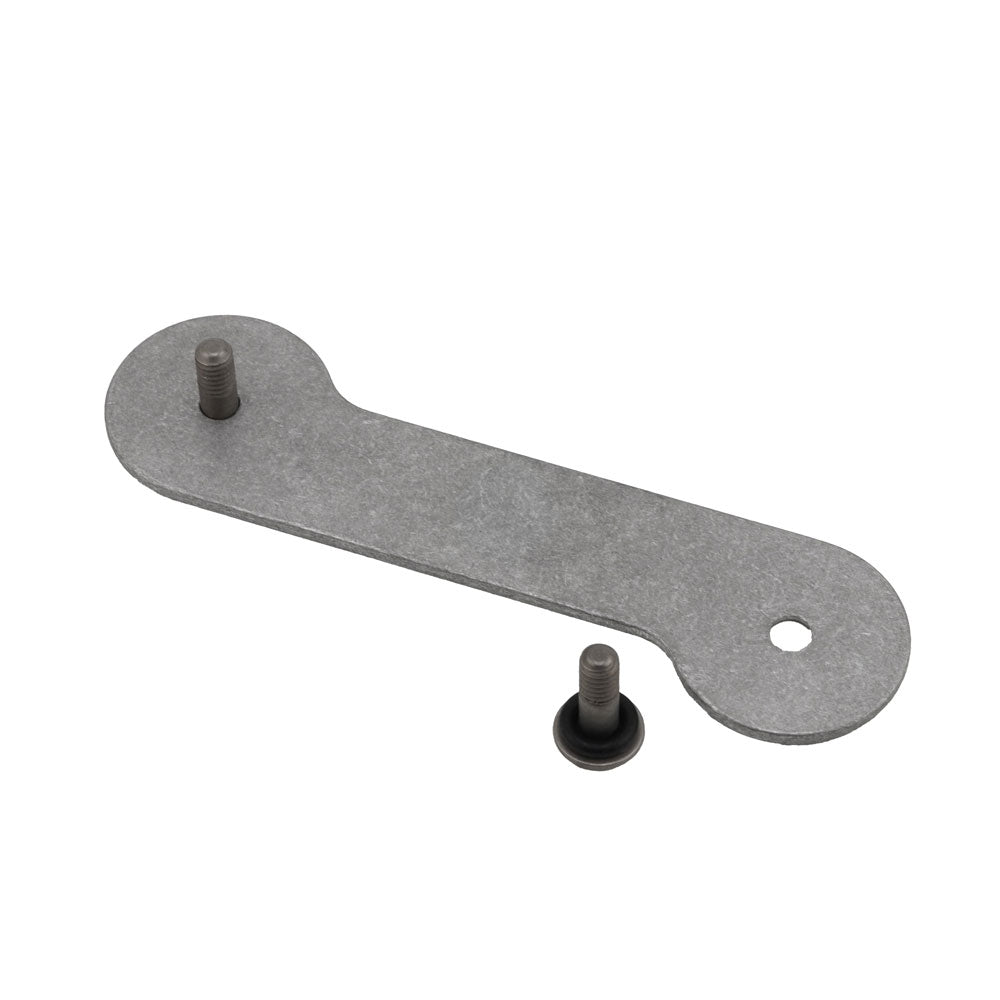
Key Fob Link
Attach car fobs or items that don't fit inside
Assembly in 4 Easy Steps
Step 1
Insert Screw & O-Ring
Take the screw that best fits your key and tool stack and add an O-ring onto the screw—this creates tension to keep your items secure. Insert the screw through the front side of your KeyBar.

Step 2
Layer Keys & Washers
Stack your keys onto the screw, using washers between them for smooth operation. Arrange keys and tools according to how often you use them—most-used keys on the outside for easy access.

Step 3
Attach the Back
Place the back side (with pocket clip inserted) onto the screws. Screw the two halves together until snug. Don't overtighten—you want items to swing freely.
Step 4
Test & Adjust
Fan out your keys and tools to make sure they swing smoothly. Too loose? Tighten slightly. Too stiff? Loosen a bit. Uneven sides? Add a washer or two. Your KeyBar should feel just right.
Care
Periodically check that your screws are snug. If items feel loose or stiff, adjust tension by tightening/loosening the screw or adding/removing a washer.